
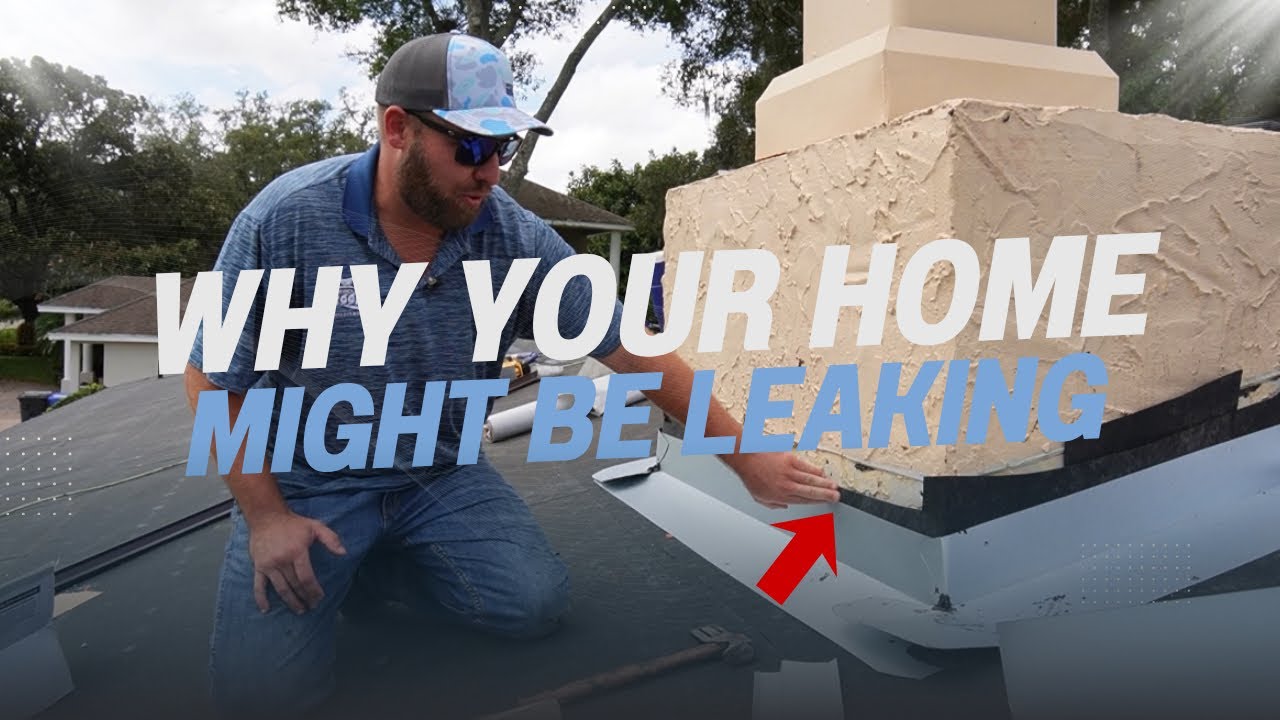
 Chimney Flashing 101: Preventing Leaks on Florida Roofs
Chimney flashing is one of the most common, and most overlooked, causes of roof leaks on Florida homes. In this video, Rescue Roofing's Collin Kruse walks through the process of reflashing a chimney during a full roof replacement in Tampa.
Collin explains what chimney flashing is, why the seam where a chimney meets the roof is so vulnerable to water intrusion, and how Florida's heat, humidity, and storm cycles put extra stress on that area over time. He demonstrates the reflashing process as part of a real, in-progress roof replacement, giving homeowners a clear look at what skilled, properly done roofing work looks like, and why it matters for the long-term protection of your home.
This isn't a DIY walkthrough, reflashing a chimney correctly takes roofing experience and attention to detail. Our goal with this video is to help Tampa Bay homeowners understand what to look for, what questions to ask, and why this detail deserves attention whether you're getting a new roof, a repair, or just want peace of mind before the next rainy season.
Thinking about a roof replacement, roof repair, or need a chimney flashing inspection in the Tampa Bay area? Rescue Roofing is here to help.
Website: https://www.rescueroofingoftampa.com/
Phone: (813) 661-7663ROOF
Service Area: Florida
Follow us:
– Instagram: @rescueroofingoftampa
– Facebook: Rescue Roofing of Tampa
– TikTok: @rescueroofingoftampa
If you found this helpful, give it a like, subscribe for more roofing walkthroughs from our crew, drop your questions in the comments, and share it with a neighbor who might need it.
#TampaRoofer #ChimneyFlashing #RoofReplacementTampa #FloridaRoofing #RescueRoofing #RoofRepair #TampaBay
Source: Rescue Roofing of Tampa
[0:00] Hey everybody, Colin here on a beautiful house re- roof we are doing in the Carewood area. Uh they actually had a tile roof on it. We tore the tile off. We got it dried in right now. We're going to install a presidential shingle on this roof. But I'd like to walk you through the process of reflashing a chimney. It's a very critical part of a re-roof. So come on up and we'll take a look. I'll show you what we do. All right, everybody. We're up here on the roof. We got it dried in. We tore it off yesterday. Dried it in last night. Got it good and waterproof. Now we're going to talk about the flashing on the chimney. very very important part of a
[0:30] roof. So once it's dried in, as you can see, we turn the peel and stick up the wall here on the stucco. We'll come with our first piece of bottom flashing here. It gets wrapped around the corner. Very important part of the roof is where this sandwiches together. Need very good roofing sealant here. We've seen many, many leaks happen right there. Um then you come with your sidewall piece. It gets wrapped around as well. So that's a two-piece system on this corner. Once the flashing is all installed, we'll come with our counter flashing that gets wrapped all the way around the chimney, gets fastened to the chimney, and then a sealant across the entire lip here to
[1:02] the stucco. The alternative to this will be cutting out the stucco, installing the flash, and then restuckcoing. The problem with that is it's really hard to get the stucco to match. So, the two options, this is the most common that we we like to do. Um, this roof's going to be waterproof for many, many years, and we'll get done with it. So, just kind of wanted to take you along, show you how Rescue Roofing does things. And I hope everybody has a great day.